
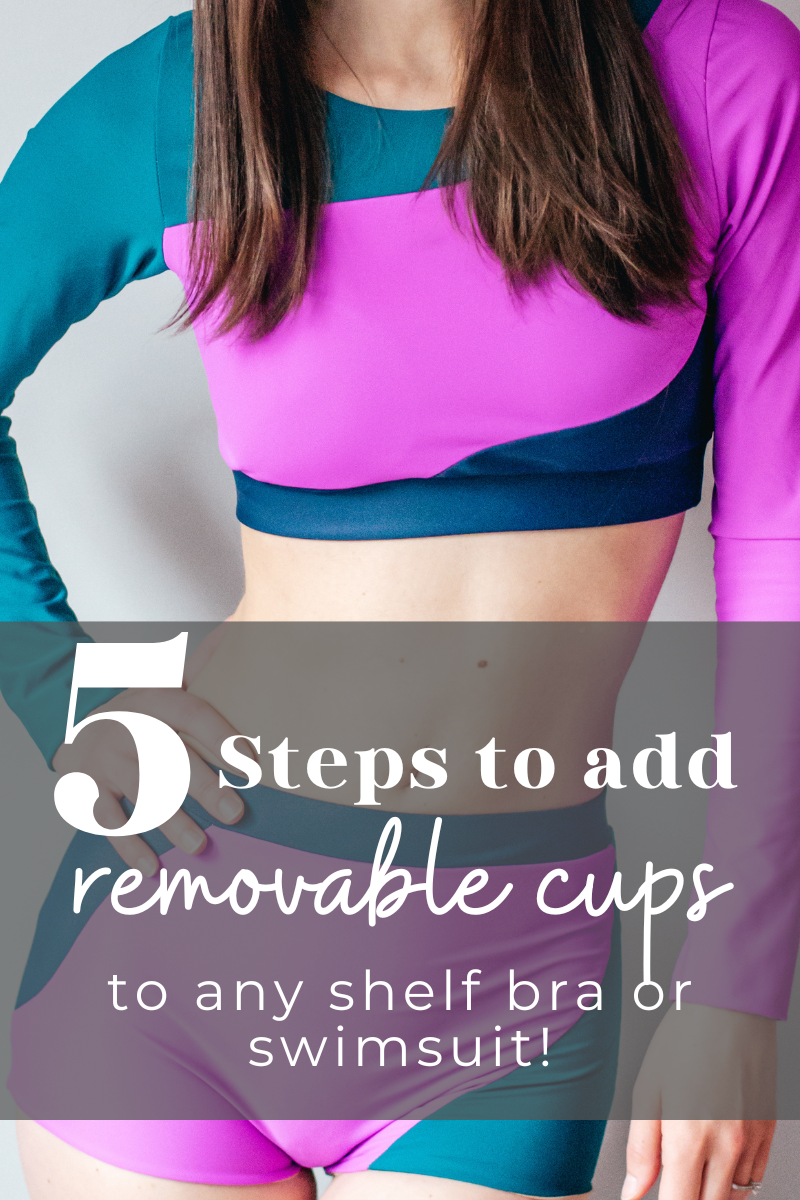
How to Add Removable Cups to Any Swimsuit or Bra
|
|
Time to read 4 min
Let's learn something new!
Adding swim/bra cups is something we get asked about a lot in the group and the truth is- it's so easy! We broke this "hack" (if you even want to call it that) into 5 simple steps that even the beginner-est of beginners can follow! You can use this method on pretty much any top/bodysuit/bra that has a lining and an underbust band.
What you need:
A bodice/shelf bra pattern piece and enough lining fabric to cut 2 front lining pieces
A pen or pencil to mark your pattern pieces
A ruler to mark seam allowances
Scissors, rotary cutter, basic sewing supplies
Bra Cups
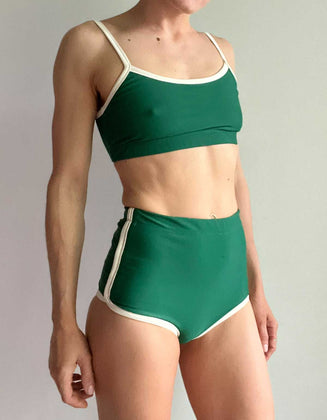
Swim Patterns to Use
Let's get it!
How to Add Removable Cups in 5 Steps!
1. Mark the seam allowance on your lining or shelf bra pattern piece.
For this hack to work, it is best that the lining piece or shelf bra sit under the bust when finished. For this pattern piece I used the lining for the Dawson Rash Guard so I only marked a 3/8" seam allowance at the bottom. If you shelf bra piece is finished with elastic (like in the Bria Crossback Swimsuit & Leo) you need to accound for the elastic underneath the bust when drawing in your seam allowance.
For this step, you will need the following:
- Lining or Shelf Bra Pattern piece for your chosen pattern.
- Ruler to measure seam allowance.
- Pen/Pencil to make your markings.

2. Decide where to place your opening to insert/remove your cups.
This steps will largely depend on the shape of your lining or shelf bra piece. For example, on the Cove Hi-Cut Swimsuit, you will need to insert/remove through the side because of the straps and bandeau necklines.
After you decide where to place the opening, draw a small circle shape in the desired location as shown in red. You do not need both, only one opening, and it needs to be placed on both sides of the pattern piece. Also, your opening does not need to be large or contain seam allowance.
For this step, you will need the following:
- Lining or Shelf Bra Pattern piece for your chosen pattern.
- Ruler to measure opening.
- Pen/Pencil to make your markings.

3. Cut out your pattern pieces.
First, cut out your solid lining piece. This is the lighter colored lining piece. Next, cut out a second lining piece with the openings removed. This is the darker colored lining piece and will be layered over top of the full lining.
Since these are knit fabrics, you do not need to finish the edges but if you wish, you can use a serger and go over the opening as shown in red.
For this step, you will need the following:
- Lining or Shelf Bra Pattern piece for your chosen pattern.
- Lining Fabric
- Scissors or Rotary Cutter and Cutting Mat

4. Overlap your lining pieces and baste in place.
With right sides facing up, layer the lining pieces as shown. Baste along the solid lining edges and hem, leaving the openings free.
If desired, you can sew a line directly down the center front of the pattern piece. It is recommended to use a stretch stitch since it will be most likely to maintain the proper vertical stretch in your garment. This center "seam" stitching will keep the cups from shifting too much inside the lining. This piece will not be treated as lining and normal construction can continue.
For this step, you will need the following:
- Lining or Shelf Bra Pattern pieces
- Sewing Machine

5. Complete construction and add your cups!
Finish the construction of your garment according to the tutorial. This shows the cups added before construction but it is easier to add them after.
Once your garment is completed, fold your cups in half and slip them into the openings, then open them up. Once your top is on, you can adjust the cups as needed.
For this step, you will need the following:
- Bra Cups or Swim Cups for Swimsuits


Thank you for reading!
We hope you are able to integrate this easy and practical sewing hack into many more of your sewing projects in the future!
Other Patterns to try this hack!
Frequently Asked Questions
What kind of patterns will this work on?
Adding cups using this method is best done on garments with two things- linings and underbust bands.
Ths underbust band could be from a shelf bra, an actual band, or a seam that sits under the bust and will keep the cups from traveling too low.
Do I need anything special to make this hack work?
Nope- nothing outside of enough of your lining fabric to cut an extra front, your basic sewing supplies and of course your cups!
Where can I buy cups?
You can find cups all kind of places from Amazon to our favorite fabric shops like Fabric + Flow and Surge! You can even repurpose cups from older swim tops or bralettes and sports bras that you're no longer wearing. Or if you're like me you have a stack of cups that you have removed from bras and tops that just sit in a drawer waiting for just the right project!