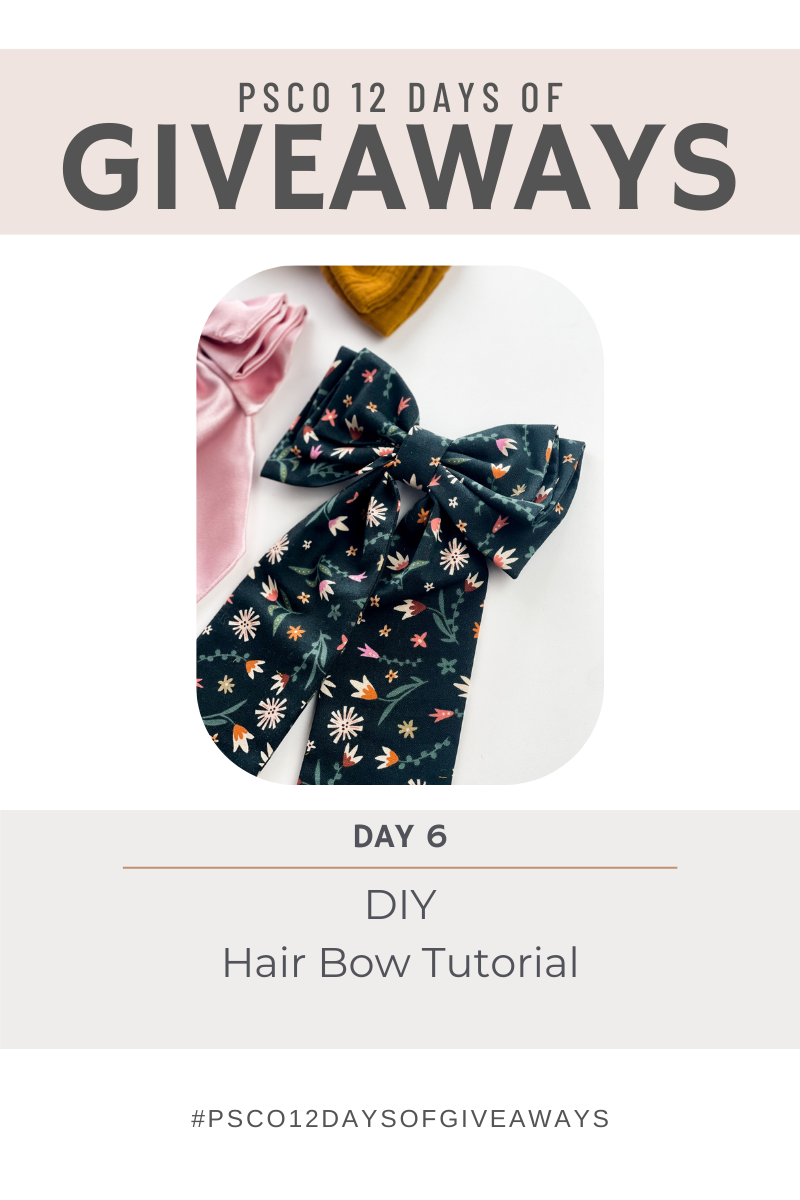
DIY Stacked Hair Bow
|
|
Time to read 3 min
Welcome to Day 6 of the PSCo 12 Days of Giveaways! Today’s tutorial is all about adding a little extra flair to your accessories with gorgeous DIY Stacked Hair Bows. Whether you're decking out for the holidays, sprucing up a school outfit, or making the perfect handmade gift, this tutorial will guide you step-by-step to create stunning, layered bows that stand out.
This project is quick, easy, and the perfect scrap buster! Get ready to make a million of these simple and stunning bows!
Let’s get it!
Supplies Needed
Basic Sewing Supplies:
- Knit or Woven Fabric
- 2.5-3" Barrette or Alligator Clip
- Hot Glue Gun
- Hand Sewing Needle
- Scissors or Rotary Cutter and Mat
- Iron & Ironing Board
- Sewing Machine
- Open the pattern in Adobe Acrobat Reader. If you don’t have this program it is free to download HERE.
- For the page sizing, make sure that you have the scale set to 100% and check your 1” square for accuracy. Lastly, make sure that your orientation is set to auto-rotate.
- Then just hit print!

Pattern Assembly
- Once printed, match up symbols and tape pattern pieces together using the photo as a guide.
- Pages can be trimmed to black border or used without trimming.
- Page numbers are matched numerically in columns.
- Page letters are matched alphabetically from left to right in rows.
- Pages meet in the corner to make complete circles.

Bow Cutting Guide
Below is a list of all the pieces needed for each bow.
Bow with Tails
- 1 Main Piece cut on Fold
- 1 Bow Center Piece
- 1 Tail Piece
Bow without Tails
- 1 Main Piece cut on Fold
- 1 Bow Center Piece
You must print the pieces for the main bow but you may use the following cut measurements for the tails and center.
6.5" Bow Tails:
17" W x 7.5" L
8.5" Bow Tails:
21" W x 7.5" L
Bow Center:
2.25" W x 5" L
Step-by-step Instructions
All seam allowances are included and are 3/8" (1cm).
*Any of the bows can be made without tails. Just skip over those instructions.*
Sewing the Hair Bow
1. With right sides together, fold the bow in half along the top/fold edge. Sew down each long side and leave a small gap in the center of the bottom of the bow.
2. Clip the corners and turn right sides out. Press and turn in the seam allowance.
3. Place the bow on top of the pattern piece with the wide end facing toward you.
4. Fold downward along the first dashed line from the top.


5. Fold upwards along the second line as shown.
6. Then fold downward along the last line.
7. Carefully remove the template and even up the folds as needed. Place a couple pins to hold the bow in place.
8. With right sides together, fold the bow tails piece in half lengthwise. Fold the bottom corner upward toward the top open edge and fold to create a 45 degree angle. Press and repeat for both sides.


9. Leaving a 1.5" gap in the center of the bow tail, sew along the slanted edge and top of each side.
10. Trim off the fabric along the slanted edge and clip the corners.
11. Turn right side out and press. Turn the seam allowance of the opening to the inside, press, and close.
12. Find the center of the bow. and of the tail piece and mark each. The shorter edge of the tail piece will be against the bottom of the bow.


13. Using a have sewing needle and thread, run a basting stitch from the top of the bow through the center of the tail piece.
14. Pull on the threads to gather the center of the bow and tails. Wrap the remaining thread around the center of the bow tightly. Tie off and trim the loose threads.
15. Fold the bow center into thirds widthwise and press. Make sure the edge of the fabric is not right to the folded edge but 1/8" to 1/4" inside of the fold.
16. With the bow wrong side up, hot glue one side of the barrette to the center of the bow.


17. With the wrong side of the center facing the bow, fold one end of the bow center over the barrette and secure with a small bead of hot glue on the back.
18. Wrap the bow center around the center of the bow and trim as needed, leaving approximately 1/2" to fold under and overlap the raw edge of the other end.
19. Fold the raw end under and secure with hot glue! If desired, you can also add a few hand tacks to secure further.
20. That's it, you're done! Get ready to make a million of these!


