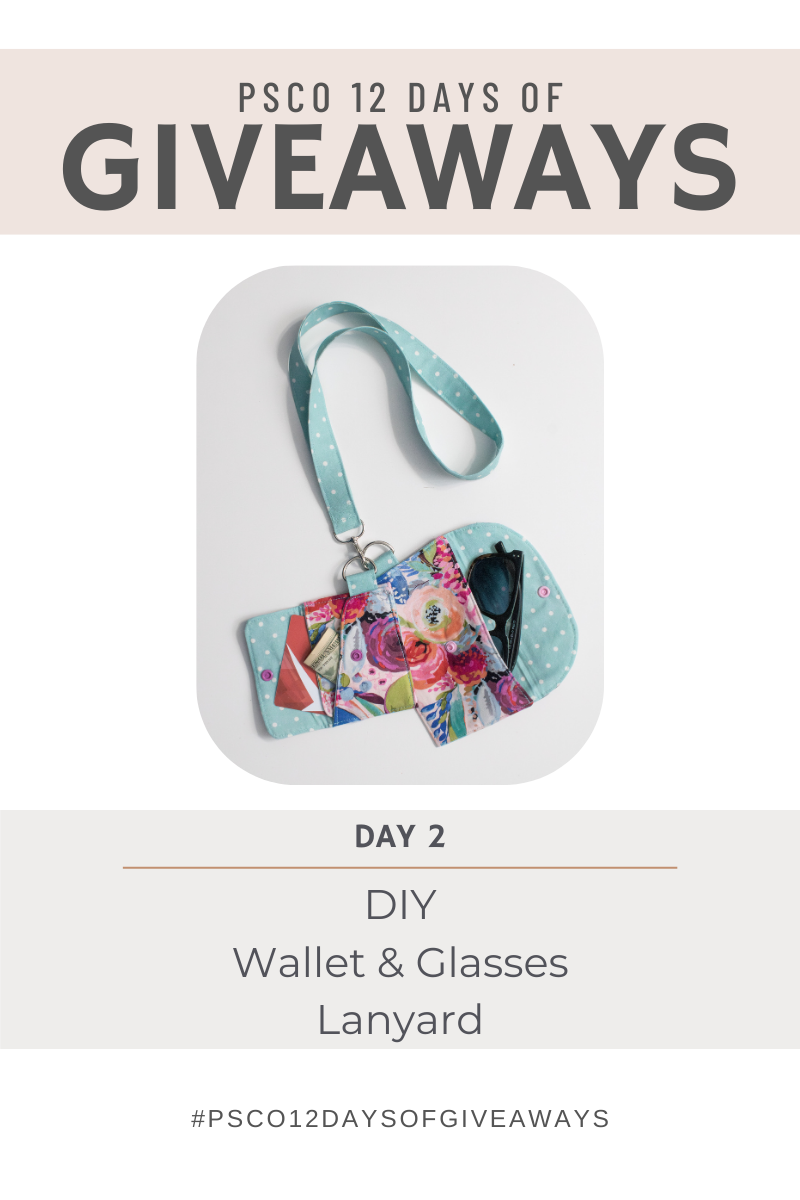
DIY Wallet & Glasses Case Lanyard
|
|
Time to read 3 min
Hey friends! You know that feeling when you’re juggling your keys, wallet, and glasses, and they always seem to disappear just when you need them most? Well, we’ve got the perfect solution—and it’s cute, too! As part of our 12 Days of Christmas freebies, we’re sharing a fun and simple sewing project: a wallet and glasses case lanyard. It’s super practical, stylish, and makes the perfect little gift (even if it’s just for you!).
This project is beginner-friendly and comes with a handy PDF print file for the main pieces to make it easy peasy. We’ll walk you through every step, so whether you’re a seasoned sewist or just getting started, you’ll be able to whip one up in no time.
Ready to sew something fun together?
Let’s get started!
Supplies Needed
- Woven Fabric for Main and Lining
- Fusible Fleece interfacing
- Snaps
- 1" Swivel Snap Hooks & D-Rings
- Scissors or Rotary Cutter and Mat
- Iron & Ironing Board
- Sewing Machine
D-Ring Tab
- Cut 1 - 2" x 4" piece for each wallet and glasses case
Lanyard
- Cut 1 - 4" x 36" piece
- Open the pattern in Adobe Acrobat Reader. If you don’t have this program it is free to download HERE.
- For the page sizing, make sure that you have the scale set to 100% and check your 1” square for accuracy. Lastly, make sure that your orientation is set to auto-rotate.
- Then just hit print!

Pattern Assembly
- Once printed, match up symbols and tape pattern pieces together using the photo as a guide.
- Pages can be trimmed to black border or used without trimming.
- Page numbers are matched numerically in columns.
- Page letters are matched alphabetically from left to right in rows.
- Pages meet in the corner to make complete circles.

Cutting Guide
Below is a list of all the pieces needed for each pattern.
Wallet
- 2 Wallet Pieces Mirrored
- 1 Interfacing (same direction as main fabric)
- 1 D-Ring Tab
Glasses Case
- 2 Glasses Case Pieces Mirrored
- 1 Interfacing
- 1 D-Ring Tab
Step-by-step Instructions
All seam allowances are included and are 3/8" (1cm).
Prepping the D-Ring Tab(s)
*You need 1 for each wallet and glasses case*
1. Fold the D-ring tab piece wrong sides together width wise and press.
2. Open piece up and fold the sides in, wrong sides together, to meet in the middle along the line you just created in the previous step.
3. Fold the piece together one more time width wise. Press well and sew along each side.
4. Slide the D-Ring on the tab piece, fold and match the raw edges. Baste.

Sewing the Wallet
1. Cut out all your pieces.
2. Apply interfacing to the back of the main wallet piece.
3. Place the main and lining right sides together. Sew all the way around, leaving a 2-3" gap open for turning.

4. Trim the seam allowance. Clip the corners and curves.
5. Turn right side out, press well and topstitch all the way around.
6. With the wallet lining side up, fold the left (more square side) in towards the middle. Place the D-Ring tab 1" from the bottom and baste in place.

7. Fold the right angled side in towards the middle. Sew along the bottom and sides.
8. Using the placement guides from the pieces, place the snaps.
All done!!

Sewing the Glasses Case
1. Cut out all your pieces.
2. Apply interfacing to the back of the main glasses piece.
3. Using the guide from the pattern piece, place the D-Ring tab and baste in place on the right side of the main.

4. Place the main and lining right sides together. Sew all the way around leaving a 2-3" gap open for turning.
2. Trim the seam allowance and cut the corners.
3. Turn right sides out, press well and topstitch all the way around.

7. Fold the bottom up, lining sides together. Sew in place .
8. Using the guides from the pattern pieces, apply snaps.
All done!!

Sewing the Lanyard
1. Fold the lanyard piece in half length wise, wrong sides together. Press well.
2. Open the piece back up and fold the side in, wrong sides together, meeting in the middle along the crease you previously created.
3. Fold it together one more time and press well.

4. Slide the swivel clip on to the lanyard.
5. Open the lanyard up on the ends and align the raw, short ends. Sew in place.
6. Press the seam allowance open.

7. Fold the lanyard back along the memory creases and press well. Top stitch all the way around both sides, moving the clip out of the way as you sew.
8. Align the lanyard as shown in the photo and sew a square with an X in the middle just above the clip.
All done!!


