DIY Puffy Appliqué
|
|
Time to read 3 min
I am admittedly pretty basic when it comes to choosing fabrics for my projects. While I love bold color combos, patterns, and prints (in theory)- my go to's are almost always solids! Those are the pieces that I find myself reaching for again and again. Nothing makes my heart beat quite the way that a matching solid fabric and rib do- swoon! 😍
But solid looks don't have to be boring, right? My eye is always drawn to those tiny details, interesting features and a depth of textures!
If you are looking for a way to take your simple sweaters, tees, and hoodies to the next level- this DIY Puffy Appliqué tutorial might just be the thing you're looking for! This simple technique can so much dimension and texture to your project.
With this technique, you can make shapes and patterns literally leap off the fabric, transforming your simple garments into tactile works of art. Best of all, it's a technique you can easily manage with just a few supplies that you might already have in your sewing room!
In this tutorial, we’ll walk you through everything you need to know to create stunning, raised appliqué—step by step. Ready to bring your designs to life?
Let’s get it!
DIY Puffy Appliqué Tutorial
✂ Supplies needed for this project
- Knit Fabric for Main and Backing
- Fusible Featherweight interfacing
- Batting
- Scissors or Rotary Cutter and Mat
- Iron & Ironing Board
- Sewing Machine
You will also need your favorite sweater, tee or hoodie pattern- PSCo has plenty to choose from! You could totally use this technique on a ready to wear sweater too!
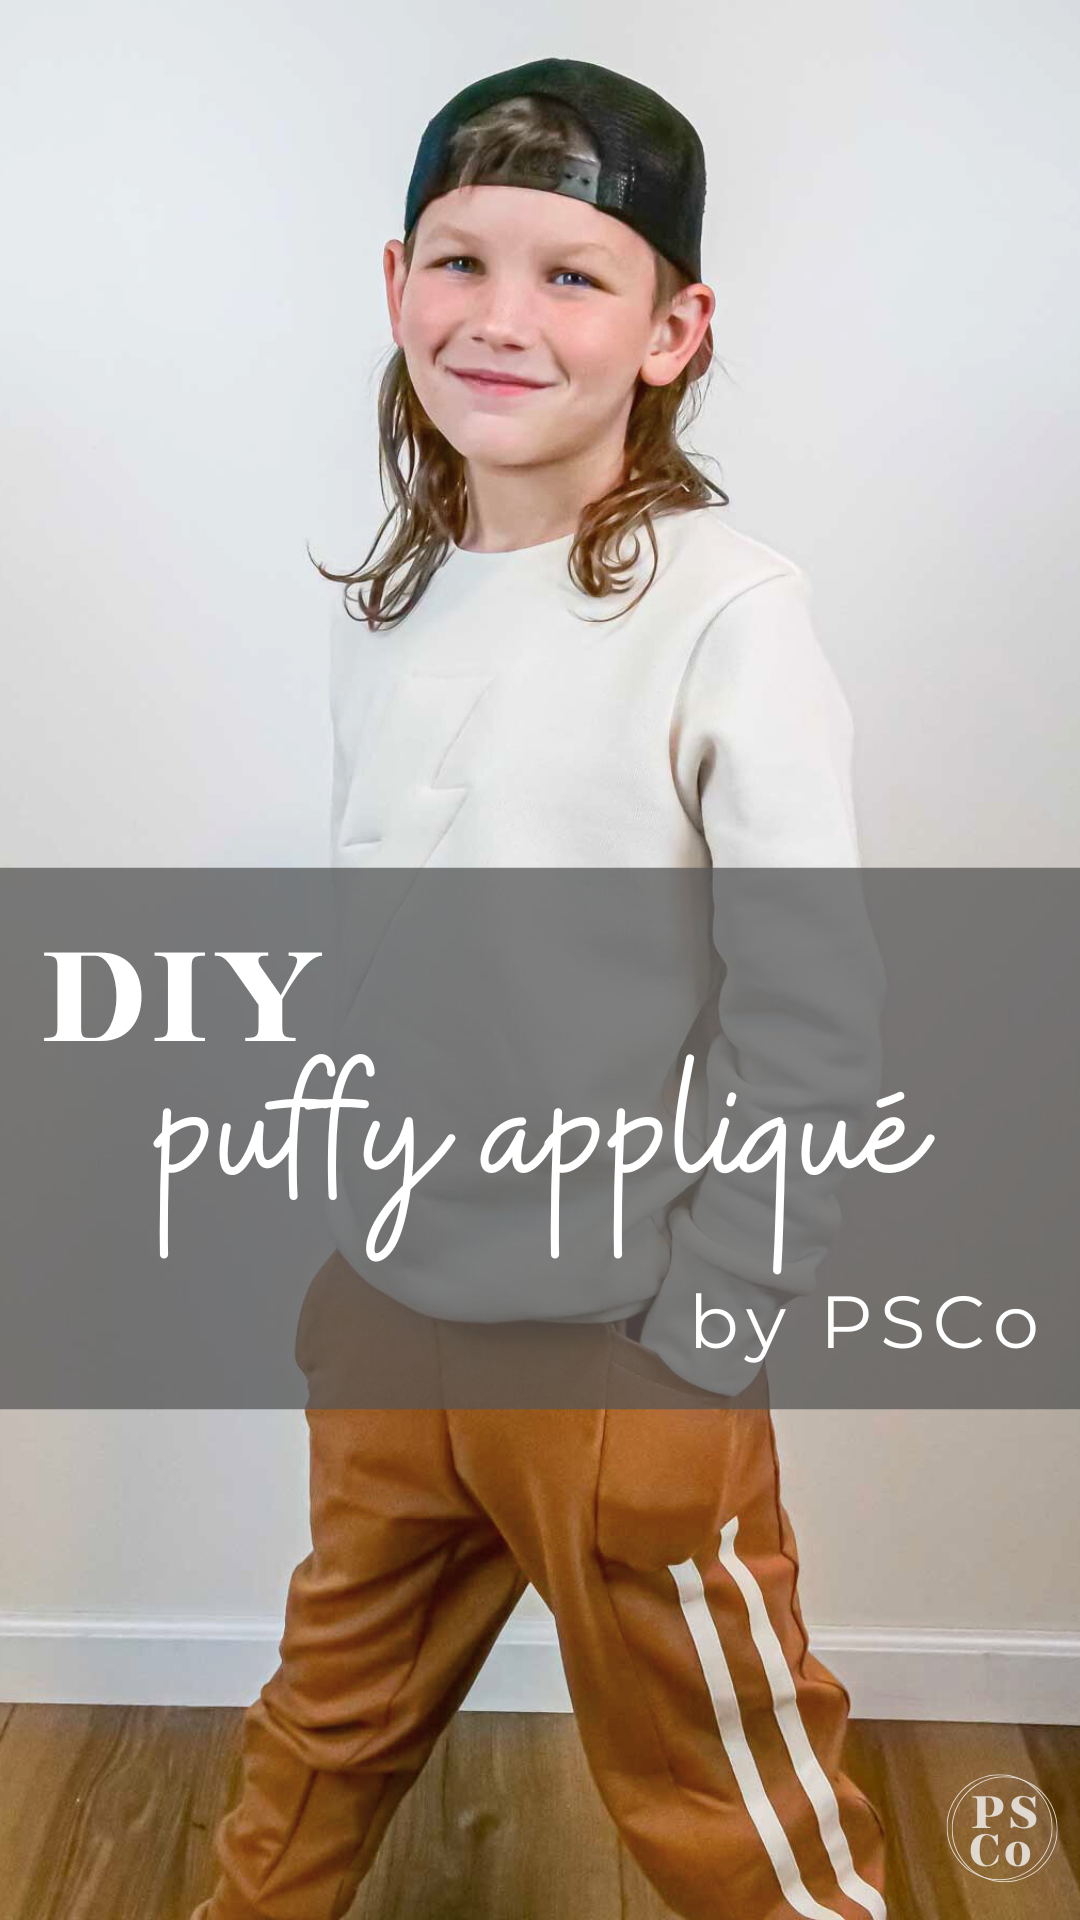
If you're wondering who this little cutie is- that's my baby boy, Murph! He has all but refused to model for me for years but finally relented during the Back to School collection. Well I have created a monster and now he's constantly asking when I will make him something new!
For his fit, I used the simple version of the Marlowe Sweater in a sweatshirt fleece and a matching rib. The bottoms are the Jude Pocket Joggers in the single side pocket option with the optional stripes!

Step-by-step Instructions
- Select your shape and make a template! The best shapes will have easy to follow borders with out too many small details that might get lost in the "puff". Think hearts, stars, lightning bolts, etc.
- Cut your pieces! First you will need one cut in your batting fabric. Next you need to cut one in your fusible interfacing that is slightly larger than your actual shape. I added about 3/8" or 1cm around the shape. If desired, you can also cut one in lining fabric to place over the interfacing for a soft inside on the sweater.
- Place your template on the front bodice. You can do this however it makes sense in your brain but for me, I like to place the template and put pins on the main points so I can match them up on the back side.
- Flip your bodice over and place the batting on the wrong side. Use the pins to line it up and make sure that it is mirrored to how you want it on the front bodice.
- Place the interfacing on top of the batting with the fusible side down. Iron the interfacing along the edge of the shape to adhere it to the wrong side of the bodice. Try to avoid ironing on top of the batting as it will flatten the shape.
- Using a glue stick, trace around the edges of the lining piece and place on top of the interfacing. Smooth the edges down and use an iron to set them in place.
- When completely cooled, sew around the edge of the batting using your sewing machine and a zipper foot. Using a zipper foot will allow you to sew closely to the edge of the batting. If you need to, you can use a fabric safe pencil, marker, or tailors chalk to trace the shape on the front bodice to keep your lines sharp.
- Finish sewing your garment!
Need a visual?
Check out this video tutorial on our YouTube Channel!


