
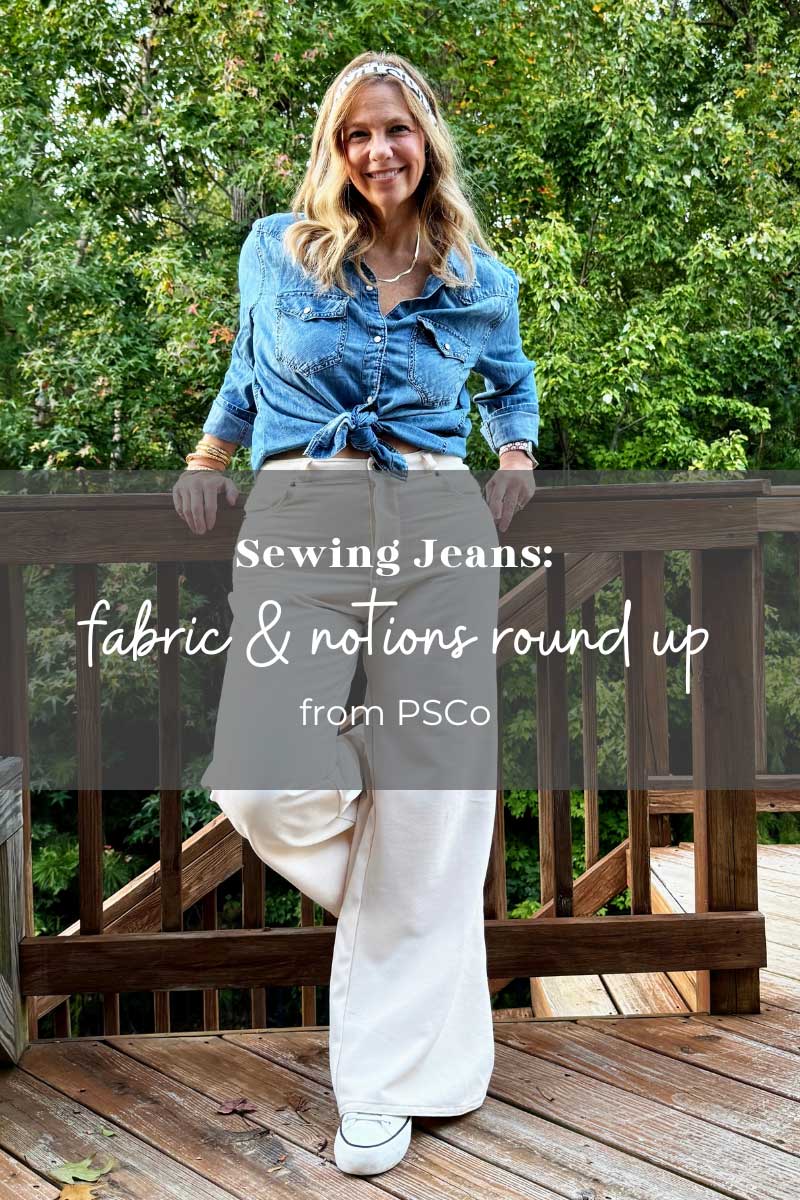
Sewing Jeans: Fabric & Notions Round Up
|
|
Time to read 4 min
We are so excited to announce the release of the Memphis Flare Jeans from PSCo! 🎉 These jeans have all the details of ready-to-wear denim but with options to create the perfect pair of denim for your size and style. Memphis features the following options & features:
Available in Kids sizing (2T–17 Tween) and Adult sizing (XXS–5X)
Two fit styles: Slim Flare and Baggy Flare
Classic five-pocket design with belt loops, button/zipper closure, and a trendy high rise
This pattern allows you to make your very own pair of jeans, completely customized to your fit and style. And while jeans might sound intimidating, trust me — with the right notions, the process is way more approachable than you’d think.
So before you dive into your Memphis Flare Jeans, let’s go over the essential supplies you’ll need. Think of this as your jeans-making toolkit — once you’ve got these gathered, you’ll be ready to tackle the project with confidence! If you still need to grab the patterns, you can do so here
Stretch Denim Fabric
Memphis requires a bottom weight stretch denim, twill or corduroy fabric with 10-15% horizontal stretch. There are lots of different places that you can shop for fabric but here are the three places I check first!
- Cali Fabrics: This is the first place I check for all my apparel fabrics! They have a great selection of quality fabrics and some designer deadstock options at affordable prices!
- Style Maker Fabrics: These fabrics are a little on the pricier side but they are great quality and have tons of options to choose from including colored denim!
- Surge Fabric Shop: I grabbed a great stretch woven corduroy fabric from Surge recently thats perfect for jeans!

Notions
1. Interfacing
The waistband is one of those areas you don’t want to skip reinforcing. Without interfacing, the waistband can stretch out, feel floppy, or struggle to hold the button securely. A good interfacing gives the waistband some stability while still letting it move with your body.
If you’re working with lighter stretch denim, try Lightweight Fusible Cotton Woven Interfacing. It keeps things structured but soft.
For heavier denim fabrics, Midweight Fusible Cotton Woven Interfacing is a nice option.

2. Rivets
Ah, rivets — they’re not just there to look cool (though they definitely do). Rivets reinforce stress points, like pocket corners, so they don’t rip with wear. If you’ve ever had a pair of jeans tear at the pocket, you’ll know why these are essential.
Grab some Double Cap Rivets — they come in multiple finishes, so you can go for classic copper, brass, or even silver.
To set them, you’ll need a Rivet Setting Tool. It’s basically a tiny anvil and setter that works with a hammer.
Tip: always test on a scrap first. Rivets are unforgiving once they’re in, and practicing on scrap denim will save you a lot of heartache.

3. Jeans Zipper
The fly zipper is one of the scarier parts of jeans sewing, but honestly, it’s just about having the right zipper and taking it slow. Regular dress zippers just won’t cut it here — they’re too delicate. You can buy zippers in all different lengths but I like to buy longer zippers and shorten them as needed.
This 9” Jeans Zipper is a great option. It’s sturdy, metal, and built to handle denim.
A little trick: use Washaway Tape to hold it in place before you sew. It’s way easier than wrestling with pins in a tiny zipper opening.
Don’t forget — lengthen your stitch slightly when sewing zippers in denim. It helps the zipper tape lie flat and keeps things looking neat.

4. Jeans Button
Nothing says “jeans” like that big metal button at the waistband. Unlike regular buttons, these are hammered in, and once you set one, it’s not coming out easily.
These Jeans Buttons in Antique Brass & Silver are classic and will match pretty much any denim wash.
To install, poke a hole (I usually use an awl or even the tip of sharp scissors), push the tack through from the back, and hammer the button into place.
Pro tip: add a tiny square of denim on the inside of your waistband under the button area. It’s like armor for your button and keeps it from pulling through.

5. Denim Needles
This one’s non-negotiable. Don’t try to sew denim with your everyday needle — it’ll bend, break, or skip stitches. Denim is tough, and your machine needs the right tools to tackle it.
I use these tried and true Denim/Jeans Sewing Needles from Schmetz.
Even with a denim sewing needle, sew slowly or even hand-crank over really bulky spots. It saves broken needles and a lot of frustration.

6. Topstitch Thread
Here’s where you get that iconic jeans look. Topstitching isn’t just decorative — it also adds strength. That thick golden thread against blue denim? Chef’s kiss.
Gutermann Jeans Topstitching Thread (Gold) is my go-to. It’s strong, smooth, and gives you that classic contrast.
Tip: put the heavy topstitch thread only in your needle and use regular all-purpose thread in the bobbin. Otherwise, you’ll fight with your machine tension.
Lengthen your stitch (around 3–4 mm) so your topstitching looks bold and professional instead of cramped.

7. Marking Tools
When you’re dealing with precise details like pocket placement, fly topstitching, or rivet spots, marking tools are lifesavers.
A simple Tailors Chalk Pen does the job. It’s easy to see on denim and brushes right off when you’re done.
I love this Dritz Pen because it's easy to use and comes with lots of colors for all different types of fabrics!

8. Washaway Tape
This isn’t technically “essential,” but it makes life so much easier that I’d call it a necessity.
Washaway Tape holds zippers, waistbands, or even pocket edges in place while you sew. No more fighting with shifting fabric or stabbing yourself with a million pins.
And don’t worry — it dissolves completely in the wash, so nobody will ever know your little secret helper was there.