

Fable Book Jacket Pattern Pieces & Tutorial
|
|
Time to read 5 min
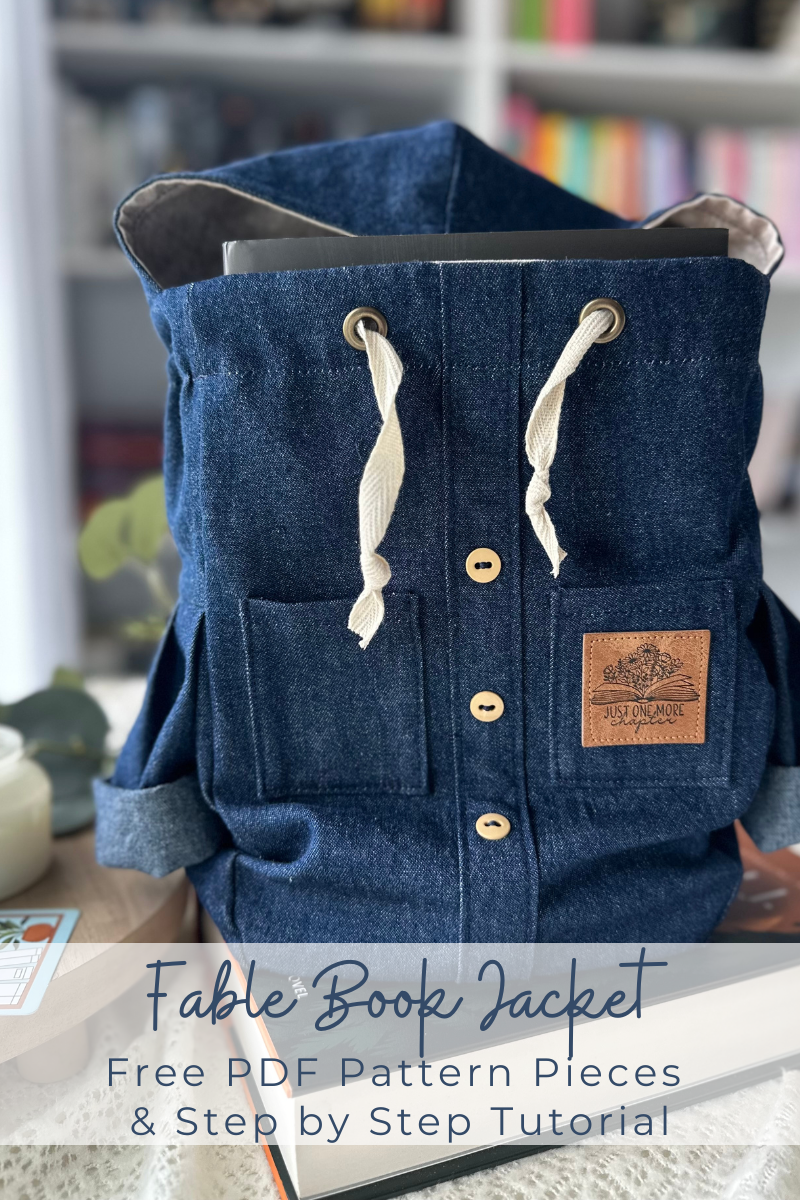
Hey book lovers! We're super excited to share our latest free pattern - The Fable Book Jacket!
It’s a cozy little “jacket” for your book, perfect for gifting or making for yourself. This idea came straight from our NC Book Besties group chat on IG when we were brainstorming fun book-related projects. Someone jokingly mentioned a “book raincoat,” and we just had to make it real!
Big thanks to those who sparked this idea and helped bring it to life: @thebookishwray, @jenn.bookish.library, @megan.a.rockwell, @regular.sized.rachel and @whynnter - y’all are the best!
Let’s get it!
Supplies Needed
Basic Sewing Supplies:
- Woven Fabric (For Main & Lining)
- Woven Interfacing
- 3 - 1/2" Buttons
- 2 - 1/4" Grommets
- Twill Tape
- Wash Away Tape (Optional for Pocket)
- Fabric Pen
- Hand Sewing Needle
- Scissors or Rotary Cutter and Mat
- Iron & Ironing Board
- Sewing Machine
- Open the pattern in Adobe Acrobat Reader. If you don’t have this program it is free to download HERE.
- For the page sizing, make sure that you have the scale set to 100% and check your 1” square for accuracy. Lastly, make sure that your orientation is set to auto-rotate.
- Then just hit print!
Pattern Assembly
- Once printed, match up symbols and tape pattern pieces together using the photo as a guide.
- Pages can be trimmed to black border or used without trimming.
- Page numbers are matched numerically in columns.
- Page letters are matched alphabetically from left to right in rows.
- Pages meet in the corner to make complete circles.

Jacket Cutting Guide
Below is a list of all the pieces needed.
- 1 Front Main Piece on Fold
- 3 Back Main/Lining Pieces on Fold (1 Main and 2 Lining)
- 2 Main Upper Side Panel Pieces
- 1 Main Lower Side Panel Piece
- 1 Lining Side Panel Piece
- 2 Sleeves on the Fold
- 2 Hood Pieces Mirrored in Main
- 2 Hood Pieces Mirrored in Lining
- 2 Pockets
- 2 Interfacing Pieces 1" x 1" for Grommets
Optional Cut Chart Pieces for the Side Panels, Interfacing and Pocket.
Main Upper Side Panel (2)
5" L x 3.5" W
Main Lower Side Panel (1)
21" L x 3.5" W
Lining Side Panel (1)
29.5" L x 3.5" W
Pocket (2)
3.75" L x 3" W
Interfacing (2)
1" L x 1" W
Step-by-step Instructions
All seam allowances are included and are 3/8" (1cm).
** Before You Start : Transfer markings for sleeve pleats and front main details as per the pattern.**
If you're new to finishing wovens or using a serger, check out our blog post (Beginner Friendly Ways to Finish Woven Seams) for helpful tips!
Sewing the Jacket
1. Fold the outer front main wrong sides together and press to create a memory crease. Stitch 1" from the folded edge, using the markings on the pattern piece as a guide.
2. Unfold and lay flat. Press the faux placket flat and topstitch 1/8" from each folded edge.

3. Serge or finish the edges of both pockets using your preferred method.
4. Fold the top of each pocket 1/2" toward the wrong side and topstitch.

5. Fold the bottom and sides of each pocket 1/4" toward the wrong side. (Tip: washaway hem tape is very helpful for this step.)
6. Using the pocket placement markings from the pattern, place the pockets and stitch them in place. (Tip: washaway hem tape is helpful here too.)

7. Apply interfacing to the wrong side of the front main, using the markings from the pattern as a guide.
8. Add grommets to the center of the interfacing.
Add 3 buttons, evenly spaced, down the center of the faux placket.

9. Using the markings on the sleeve pattern piece, create a pleat at the top of the sleeve and baste in place.
10. Fold the bottom edge of the sleeve up 1/4" toward the wrong side and press. Fold it up another 1/4" and press again. Topstitch.

11. Fold the sleeve right sides together, aligning the straight raw edges. Sew in place. (Note: If you're not using a serger, be sure to finish these raw edges.)
12. On one end of the Lower/Bottom Side Panel, place the sleeve on top, making sure the pleat is facing up. Center the sleeve on the panel, align the raw edges of the sleeve with the short edge of the panel, and baste in place.

13. Place the Upper Side Panel right sides together with the sleeve/lower panel, aligning the short ends. Sew in place.
14. Repeat steps 12–13 with the other sleeve/side. Press both seams well, pressing the seam allowance up and away from the sleeve.

15. Starting at the bottom center, place the side panel right sides together with the front main. Pin or clip in place. Continue pinning/clipping around the entire outside edge, easing around the curves. Sew in place.
16. Repeat with the back main piece.

17. Starting at the bottom center, place the side panel right sides together with one of the front/back lining pieces. Pin or clip around the entire outside edge, easing around the curves. Sew in place.
18. Repeat with the second front/back lining piece, but leave a 3–4" opening on one side. This will be used for turning the back right side out later.

19. Place the hood main pieces right sides together and pin or clip around the back curve. Sew in place. Repeat with the hood lining pieces.
20. With the hood main wrong sides out and the hood lining right sides out, slide the lining into the main. Align the front curves and pin or clip. Sew in place.

21. Turn the hood right sides out and press well. Topstitch 1/2" from the front edge.
22. Find and mark the center back of both the hood and the main jacket. Place the hood right sides together with the main jacket, aligning the center markings. Continue pinning/clipping the hood in place. (Note: The hood stops about halfway around the sides - it won’t go all the way to the front.) Baste the hood in place.

23. With the main jacket wrong sides out and the lining right sides out, slide the lining into the main. Align the top raw edges and pin/clip in place.
24. Sew all the way around the top opening.

25. Use the opening left in the lining to gently pull the entire jacket right side out. Close the lining opening with a ladder stitch. Press the jacket well.
26. Measure 1 1/4" down from the top edge. Use a fabric-safe pen to draw a guideline all the way around. Sew along this line to create the drawstring channel.

27. Thread twill tape or your preferred drawstring through the channel using a safety pin or turning tool. Trim to your desired length.
Either fold the edges over twice and stitch, or apply fray check to the ends of the twill tape to prevent unraveling.

All Done!
That’s it - you’ve just made your very own Fable Book Jacket! I hope it brings you joy (and protects your next great read). Be sure to tag us on social media and use the hashtag #PSCoFableBookJacket so we can see your beautiful makes!


Meet the Designer
Hi all! I’m designer and book-obsessed creative behind this pattern! I had so much fun turning a silly idea from our book chat into something you can sew and gift.
Happy sewing, and have fun making your book its very own jacket! 📚
Jackie P.